mY trip
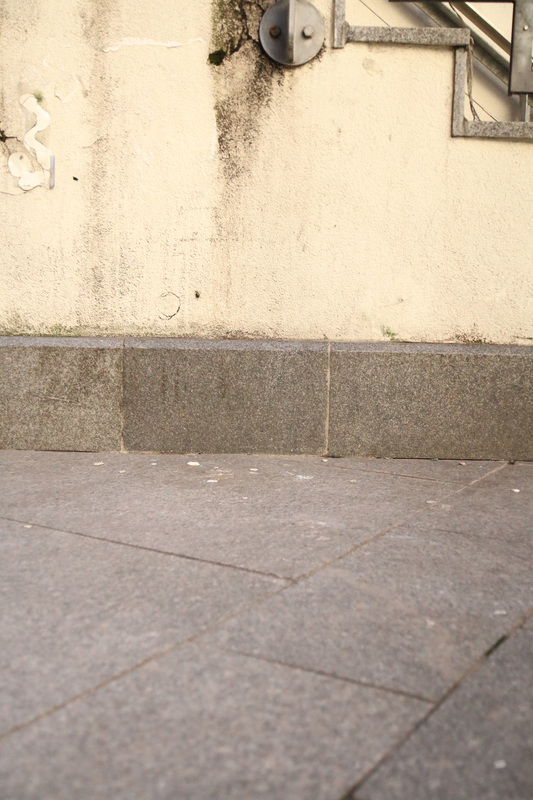
For my photoshoot, I went to Seal Street in Liverpool, and took a few other photos on Back Colquitt Street. These here are most of the unedited photos I took whilst I was out and there will be more to come, as I have decided to also go into China town soon and take some photos there, as I think some of the structures there would fit in quite well with my idea for my Splash Damage project.


Editing process of textures
|
This is the wall texture I am going to use, to create one of my walls with.

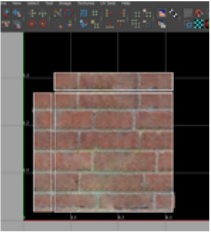
This here is the tileable texture I created out of the first image. It tiles well, but the green bit on it creates a repeated pattern which I will have to come back to and sort out.

|
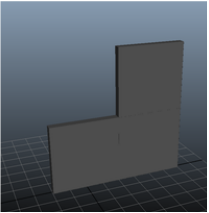
These here are my UVs for part of a wall in Maya. To get them like this I had to open the UV editor and planar map each face of my object and resize them. The reason there are only three pieces instead of six, are because the other three are underneath, because they will just have the same texture on them, so this way it saves space and time.
The way I got my texture on, was by selecting all the plain UVs and clicking "UV snapshot", changing the sizes to 1024 by 1024, setting it to save as a Targa, and then saving it in a place that I'll be able to find it easiest. I then opened my UV snapshot in Photoshop so I could add in my textures, and make them fit properly. Once I'd sorted them all out making sure all the lines met up, I saved it out as a Targa again so I'd be able to open it in Maya.

This screenshot here is what the wall looks like after it has been tiled a couple of times. Overall I'm happy will the result and will now move on to the bin I'm going to create. |
|
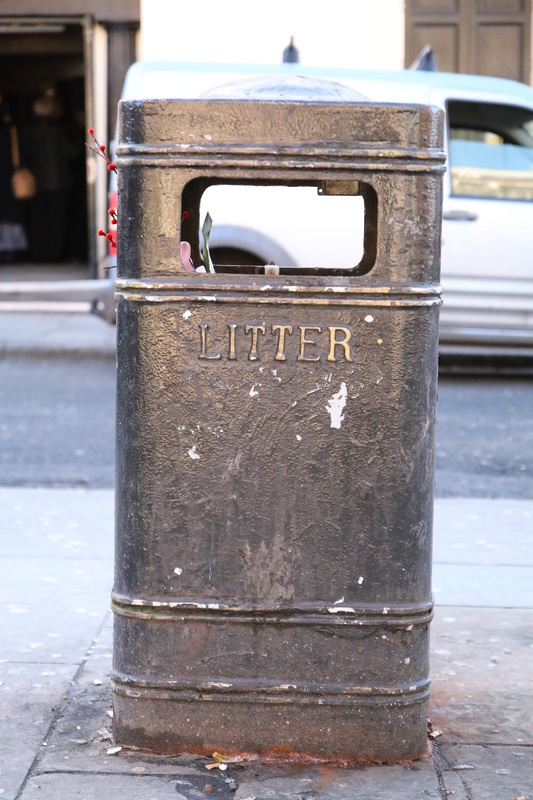
Down the left, are the original photos I took for the bin, and to the right, are going to be all the alterations and changes I made to them and how they look on my model.
The changes I made to this side of the bin weren't that drastic, I only got rid of some outstanding marks like the big white one and I used perspective crop to make sure it was actually straight and at the right angle. On all sides of the bin, which you can't actually see here yet, I also made the lines that go across the bins, stay completely straight as they get to the end, otherwise, when I apply the texture to the bin, the edges wouldn't meet properly, they'd just bend upwards. To the right here I edited one of the sides to be the fourth side as well, as the photo I took of the fourth side had too much muck on it and was almost impossible to cover up, so I just used an easier side to alter. |

|

|
|


|


|
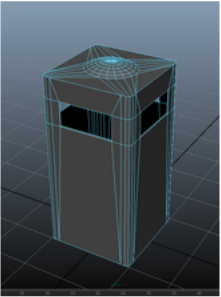
This here it the model I created in Maya, I made it out of one cube and one circle and I target welded them both together, and then deleted the remaining faces that didn't matter. There were quite a lot of lines left on the faces from where I'd had to place them, to target weld the circle, so I had to go around the whole model and clean up the unwanted lines that where just creating more polygons and wasting space. The model to the right is the cleaned up version and it's the best I can get it without removing the bevels around the edge keeping it curved.
|
|
To the right again are the UVs I had to sort out. To get them correct, I had to planar map them separately and rearrange and resize them until they were all in proportion and relative to each other. I then selected all the UVs and UV screenshotted them, and set the setting to the same as I did for the brick wall, and then opened them in Photoshop. Once in Photoshop, I imported all the images of the bin I needed and adjusted them all to fit the UVs. To create the bottom face (which doesn't really matter) I just used the top view of the bin and removed the circle so it just looked flat. The small rectangles along the right-hand side are the rims of the bin openings, you can't really see them, so I just give them all the same blue/grey texture of the bottom and top of the bin.
|

|
|
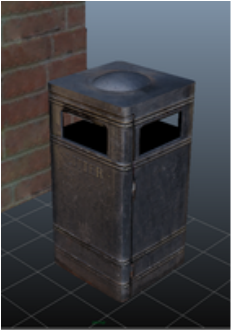
This is what the textured model of the bin looks like. I am very happy with how it looks for a first go at texturing a more irregular object, it all meets up really well in my opinion, there are some parts where it's slightly off, but nothing too drastic. The main problem is that there is a shine on one of the corners which I physically can't remove as it is too big therefore more difficult for me to blend out, I think I'd have to take brand new pictures to get rid of it.
|
|
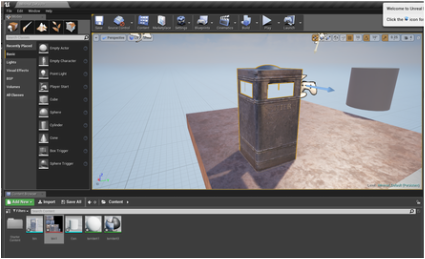
This was an experiment to see if I could export my model of a bin from Maya as a FBX file and import it into UE4, which I succeeded in doing. The only problem is that it looks like it has no back end, I think this is due to the fact I haven't modelled the inside of my bin, but I could always do that if need be in Maya.
|


